Editing and Playing Frames

To make a movie grow in size, you typically copy your current frame to the end of the movie. In the new frame, you change positions of shapes, move shape points, change colors, add new shapes, etc. to develop the animation.
You can navigate between key frames by moving the frame slider or pressing first frame, previous frame, next frame, or last frame buttons on either side of the slider. The name of the current key frame is shown on the left.
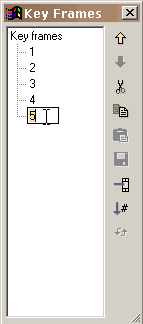
 You can display a list of all the key frames using Views > List of Key Frames. This list can be used for navigating, renaming key frames, and frame editing (cut, copy, paste, and reversing the order of frames). To change the position of one or more frames in the movie or to cut/copy/paste frames, make your frame selections in the list of frames and use the editing commands on the right. Shift select to select multiple frames. Paste places the cut or copied frames before the currently selected frame. To rename a frame, select the item in the list and click again to get a cursor. Type in the name you want. The window can be resized by dragging the resizing marks in the lower right.
 The number in the combobox is the number of tween frames between the current frame and the next. You generally want this number to be greater than zero so KoolMoves will generate smooth transitions (called morphing) between the key frames. Adding tween frames in most cases is cheaper than adding key frames in terms of the size of an exported Flash™ movie, particularly for shapes with many points. Adding tween frames also lets you control the speed of the movie at a specific frame -- the more tween frames, the slower the transition to the next key frame.
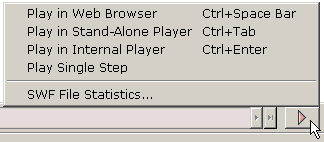
 KoolMoves has an internal player which plays the movie in a loop. You can also single-step through the movie. You can view the movie in your web browser as a Flash™ movie on a blank web page or in a stand-alone Flash™ player if you have one. You can download a free Flash player from Macromedia.